Magnetic Reference Objects for a Tin Roly-Poly
-
Roly-Poly tins were popular in the 1900's as tobacco and candy containers. In terms of being a source for a 3D scan they have a lot of issues. The primary issue for most 3D scanners I tried to use in the past is the amorphous shape. For the THREE, there are issues with reflections that repeat in odd places as the scanner is rotated.
I thought I would try to scan a Roly-Poly applyng two new techniques I'd not tried before with this object.
The first is the addition of some 3D reference shapes held in place by magnets. The second was increasing the number of scans by a factor of +-3. I divided the scans into three groups with a scan range of 140 degrees. The scans were centered at 0, 120 and 240 degrees, creating a slight overlap between the scans.
What I had run into earlier using the Matter & Form V2 scanner was some harsh glare in a repeated pattern as each stop created it's own glare region. By increasing the steps I hoped that non-glare regions would cover the brighter patterns more efficiently. That turned out to be right.
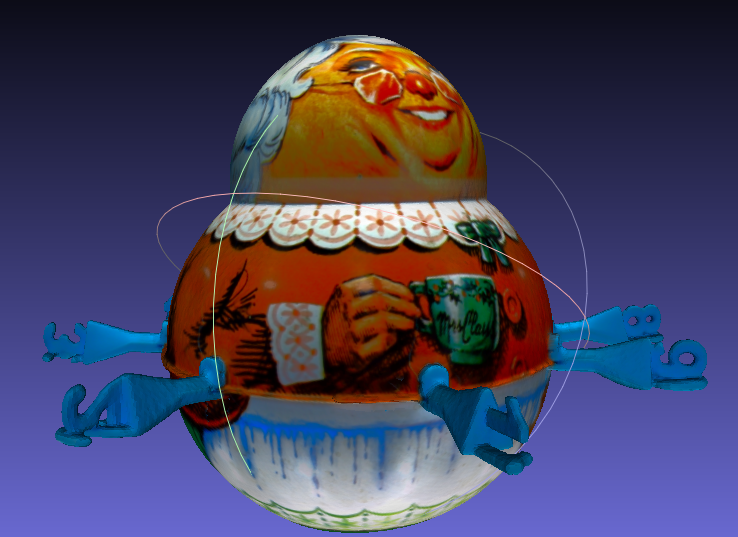
In the above image, you can barely see the repeated brighter pattern in the upper half of the Roly Poly.
The idea of adding the magnetic references was only 'mostly' successful. The reference letters turned out to be too small and the wrong angle for complete success. It worked for aligning the bulk of the scans. But, the individual top and bottom scans required picking material features as well since the numbers did not get captured clearly enough for point picking.
Overall, I am very happy with the result. In future tests, I will try to obtain better light balance between the top and bottom halfs of the Roly-Poly. But, I was able to capture circumference, top and bottom with excellent registration and once completely cleaned of the reference objects, a person in the future would be able to get an excellent idea of the details of this fun but vanishing art form. And, that is a great purpose for a 3D scanner.
-
-
-
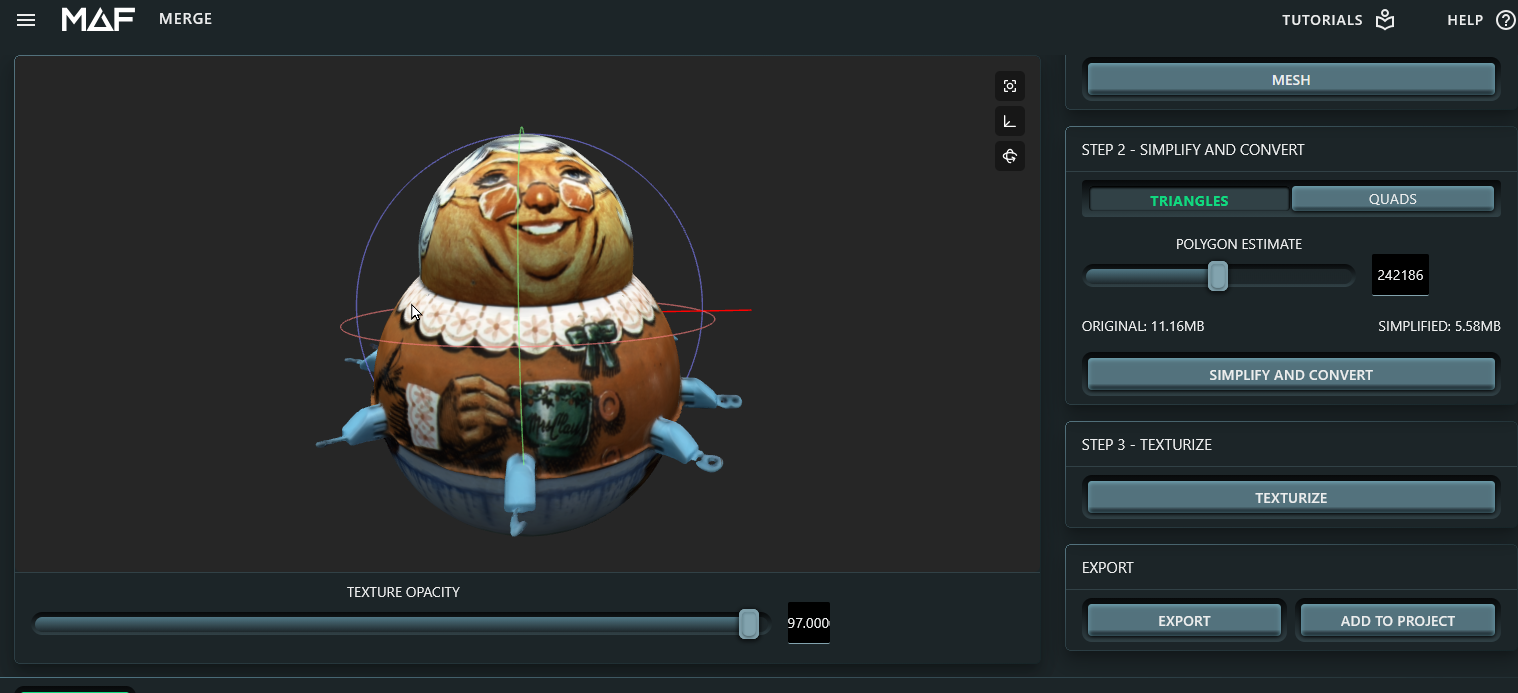
Here is a rough texture that was created by scanning the Roly-Poly upside down to capture the bottom at about the same light level as the top. Two scan sequences and two individual scans were used for this result.
Scan Sequence #1: Bottom Up, 14 Steps, 360 Rotation (Top features removed from Capture Group)
Scan Sequence #2: Top Up, 14 Steps, 360 Rotation (Bottom features removed from Capture Group)
Single Scan: Very Top of Head
Single Scan: Bottom Base